Portal User Guide
Public Release Disclaimer
Unless otherwise stated, all information entered into the portal will eventually be released to the public. Do not enter any information you or your organization are no permitted to share publicly, such as PII, organizationally-identifiable information, or other sensitive/proprietary information.
Creating a Case
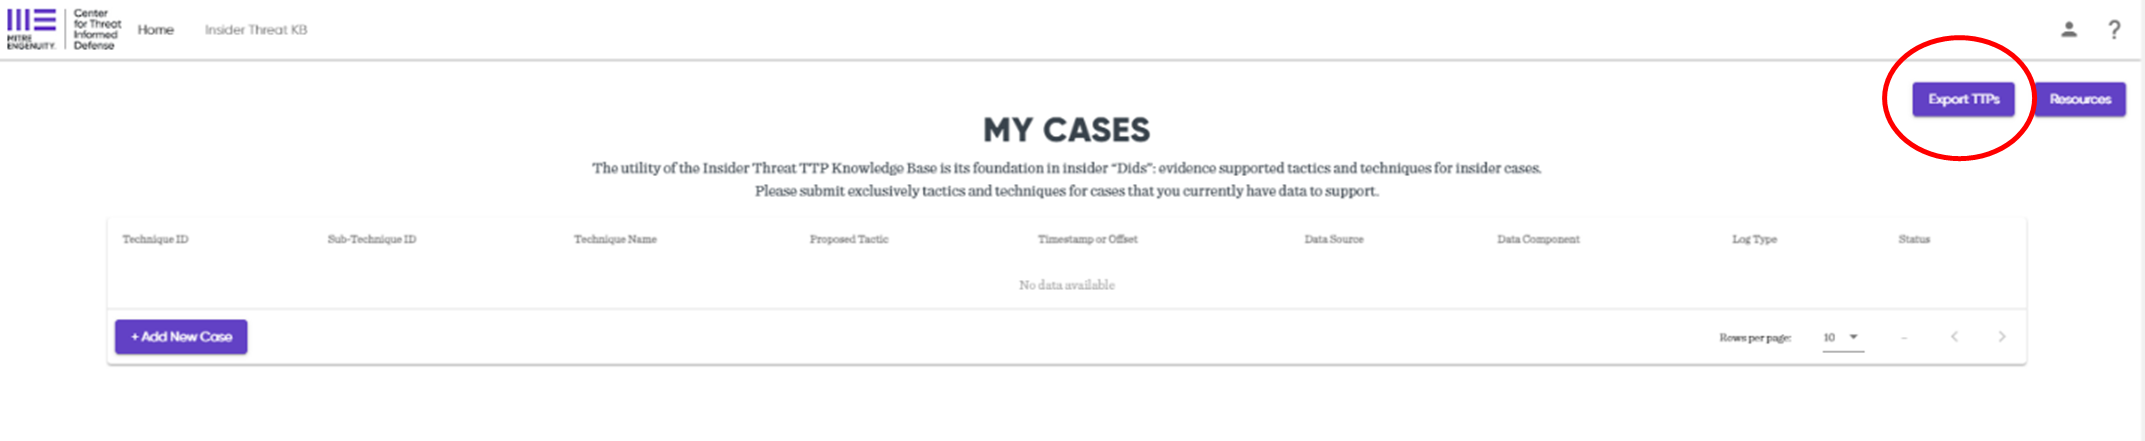
To enter a new case, select the purple + Add New Case button.

On the New Case page, enter the following on the left side.
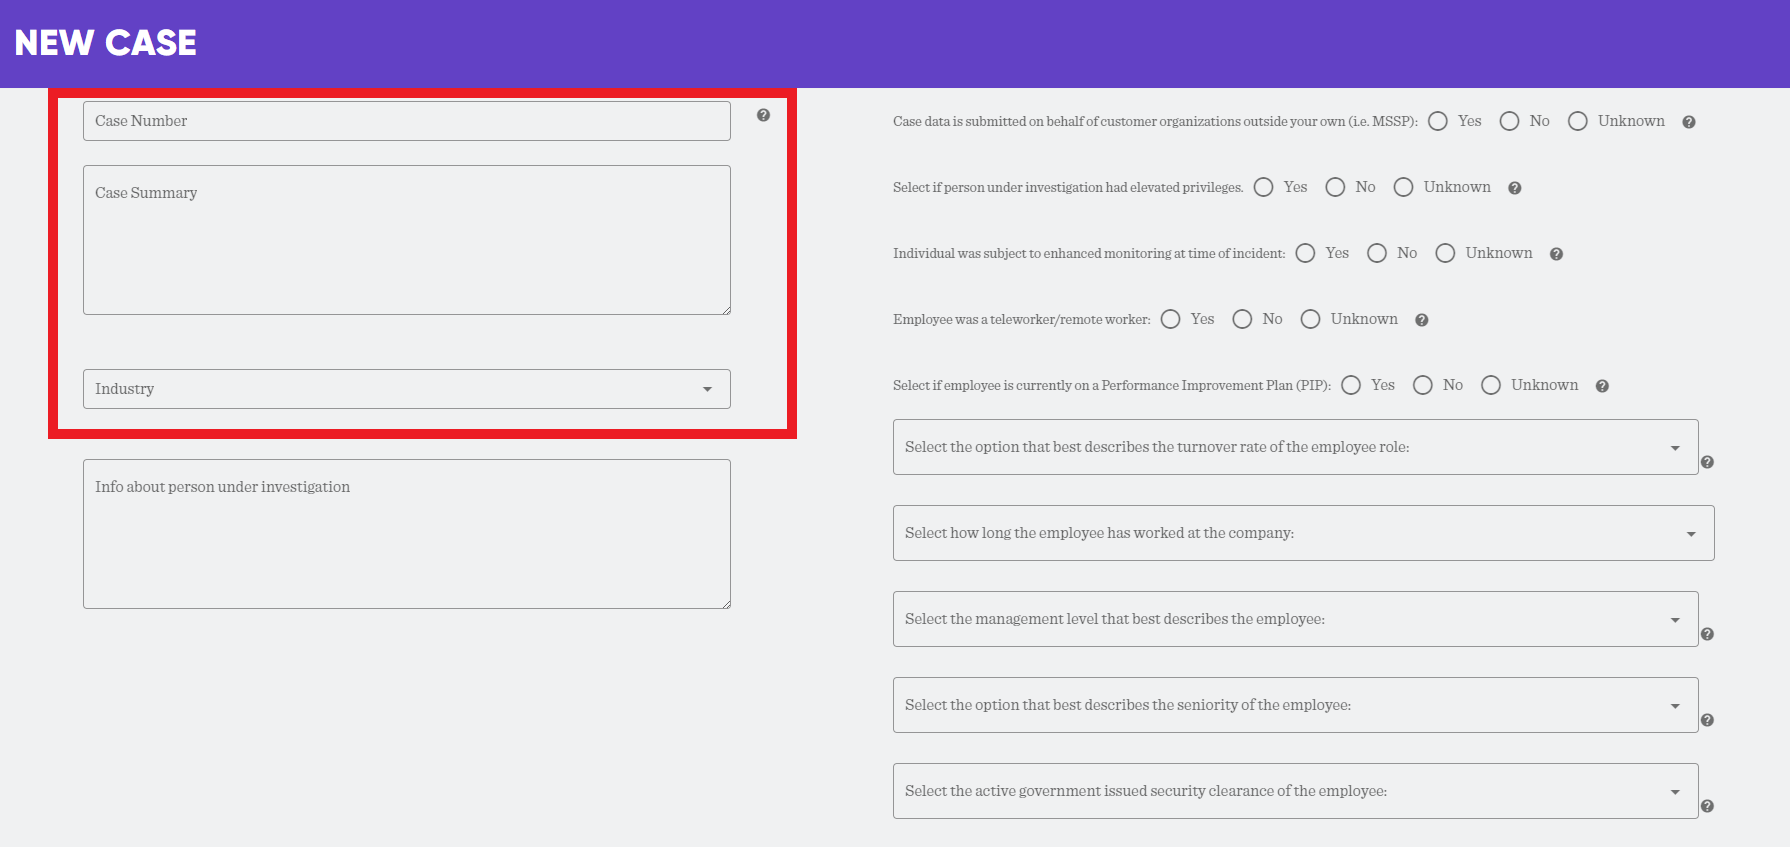
Case Number: This is any combination of numbers and letters and should be be unique to your organization. Case numbers are not released to the public. It is intended to help organizations track which cases have been entered into the portal.
Case Summary: This summary should be detailed enough to give researchers an understanding of what happened in the case, but vague enough that it does not give away information that can identify your organization or the individual involved. This information will eventually be published. Do not include information you do not want to be made public.
Good Example: Subject placed roughly 230 documents, many of which were proprietary or sensitive, into a new folder on their desktop in three separate batches over the course of 16 days. Three days later they started uploading the documents to their personal cloud storage account. He performed this task over the course of the 3 days, placing between 15 and 20 documents in his account at a time.
Bad Example: John Smith placed roughly 230 documents into a new folder on his desktop, many of which were related to the NeuralNails and SynapseScrews which is proprietary technology being developed within Acme Corporation’s AI-powered Construction and Building Materials Division. He collected these documents over the course of 16 days. Three days later they started uploading the documents to their personal cloud storage account under the username TakeTheDataAndRun. He performed this task over the course of the 3 days, placing between 15 and 20 documents in his account at a time.
Industry: This is the industry your organization belongs to, or if submitting on behalf of a third-party organization, their industry.
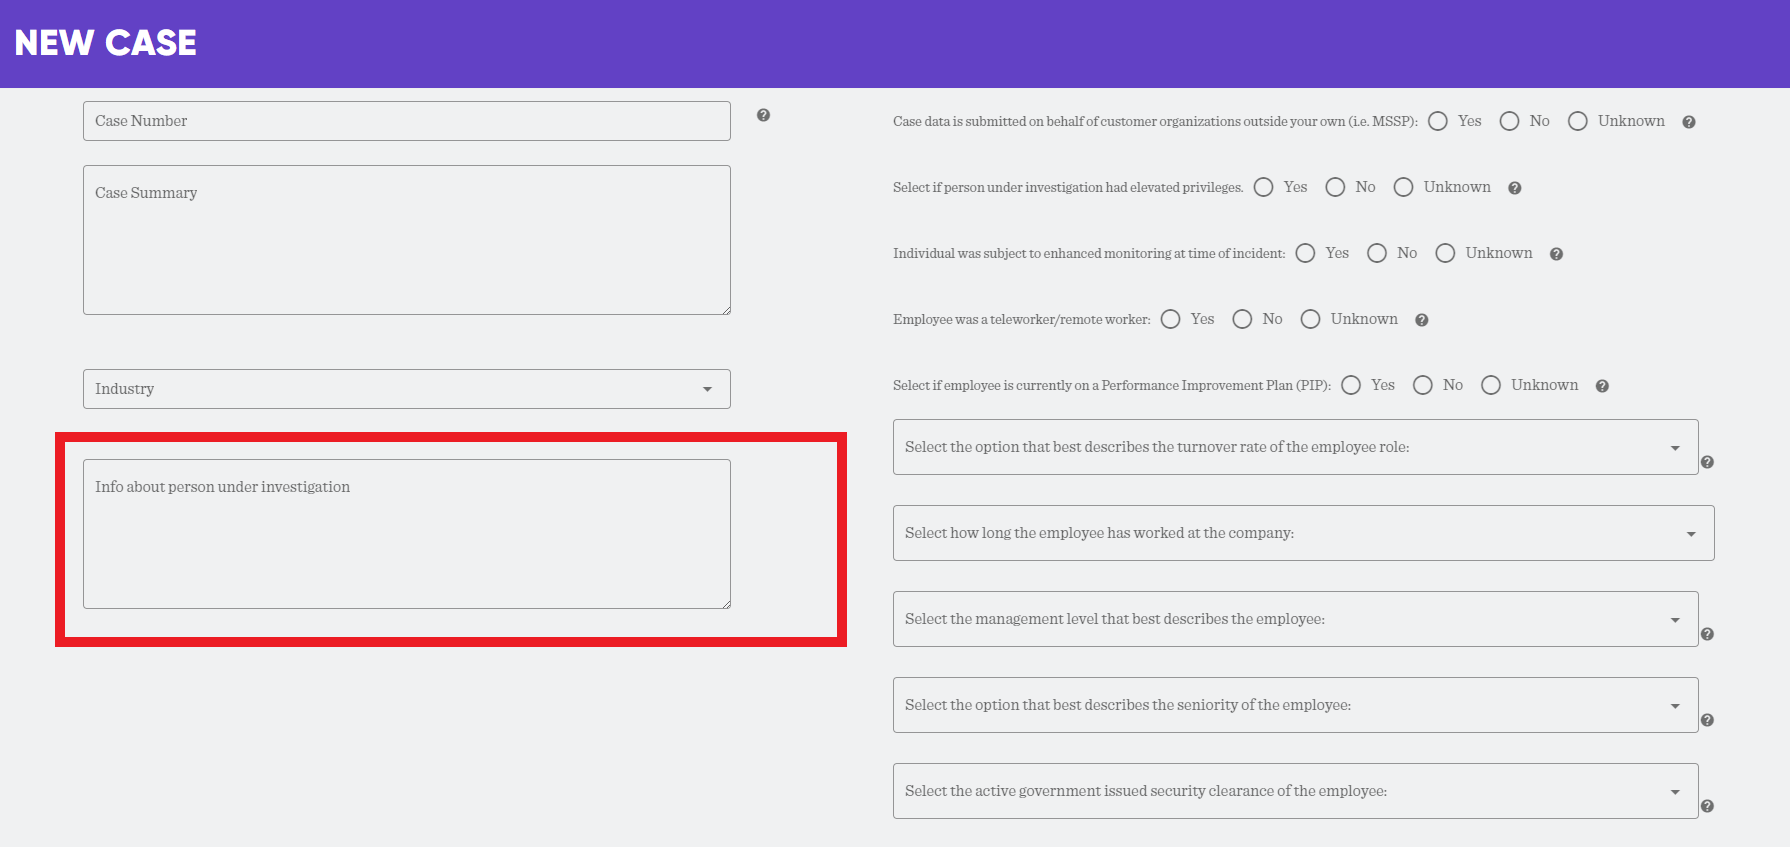
Put any additional information about the person under investigation in the text box on the left. This can be anything that can possibly help the research.
Good Example: Subject worked at the company for 16 years and was a team lead on a project related to the documents they exfiltrated. Prior to the time of their data collection activity, they were seen looking for new employment outside the organization. Subject has a background in Artificial Intelligence and Machine Learning.
Bad Example: John Smith worked at Acme Co. for 16 years and was an AI subject matter expert on the NeuralNails project. Prior to the time of his data collection activity, he was seen looking for new employment outside the organization on his work computer. John has a background in Artificial Intelligence and Machine Learning.
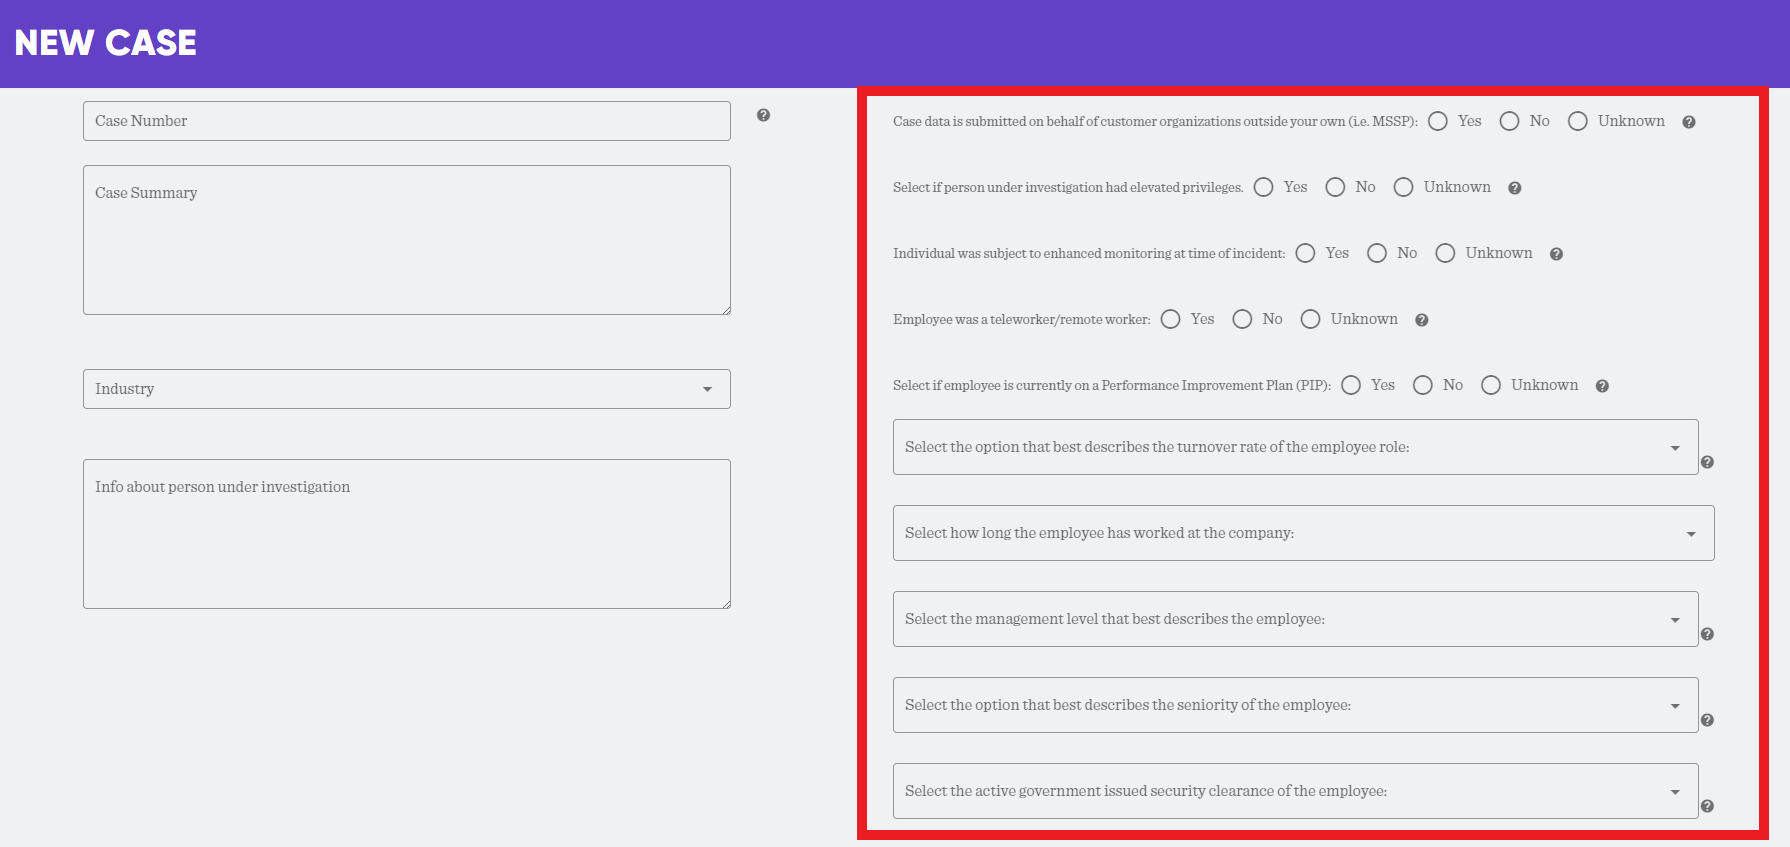
Select from the available choices on the right side that apply. If unsure, hover over the question mark to see an additional explanation and example.
Entering TTPs
Once all the case information is filled out, it is time to enter the TTPs used by the person under investigation.
Select the purple + Add TTP button.

Select the technique and sub-technique (if available and known) from the drop-down menus. These are the tactics and techniques that best describe the action taken by the insider. Some actions by the Subject may not fit perfectly into the definition within the ATT&CK framework. If the action mostly fits a current technique, use the existing options. We have included an option to submit a new technique which this guide will get into later.
Proposed Tactic: Techniques within the ATT&CK framework are already placed under one or more tactics. We want to understand how people are using these techniques, regardless of whether their actions were intentional or malicious, or their actions were accidental or due to complacency. This information will help us understand where insider threats act similar to other threat actors and where they might differ.

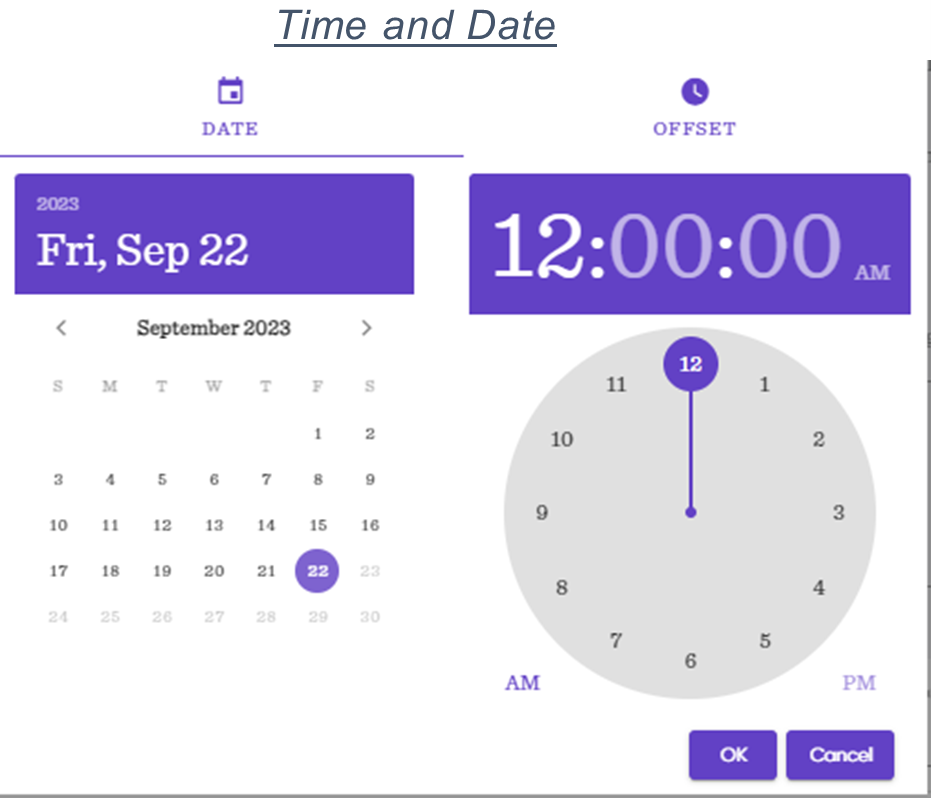
Timestamp/Time Offset: We want to understand the timeframe and sequencing of each action, as well as the interval between each action. We have included two options for submitting this data.
Timestamp: This is the time and date that each technique was performed based on log data. Time should be normalized to the time zone the actions occurred as opposed to server time, should they be different.
Time Offset: Insider threat cases occasionally make news. In order to further obfuscate the organization and subject involved in the case from the information being submitted into the portal, we included an option for a time offset. Calculator.net has a “Time Between Two Dates” calculator that can help with these conversions.
For the first technique, leave the ‘Days’, ‘Hours’, ‘Minutes’, and ‘Seconds’ to 00.
For each subsequent technique, set the fields to the amount of time each technique happened relative to the first. For example, if the timestamp of the techniques read:
Technique 1: 2023-09-05 T 13:26:39
Technique 2: 2023-09-05 T 13:33:15
Technique 3: 2023-09-08 T 09:54:06
Technique 4: 2023-09-08 T 10:02:26
The Time Offset would be entered as:
Technique 1: Days 00; Hours 00; Minutes 00; Seconds 00
Technique 2: Days 00; Hours 00; Minutes 06; Seconds 36
Technique 3: Days 02; Hours 20; Minutes 27; Seconds 27
Technique 4: Days 02; Hours 20; Minutes 35; Seconds 47

Select the data source, data component (optional) and type in additional information about the log type (optional) that corresponds to where the insiders’ action was identified. This information can help insider threat programs better understand how to identify the use of these techniques.

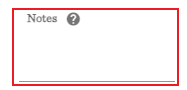
Add in any additional notes or details about the insiders’ action in the notes box. These notes will not be released to the public and can be seen ONLY by the submitter and the researchers within MITRE.
Add as many TTPs as necessary within each case to give a full picture of the Subjects actions.
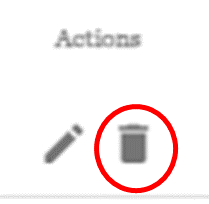
TTPs can be deleted by clicking on the trash can button.
Once all case information is entered, select the Add Case button to submit the case to the portal.

Exporting TTPs
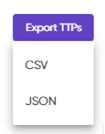
To export TTPs from submitted cases, select the Export TTPs button on the right side of the portal.
Choose to download as either CSV or JSON.
Getting Help
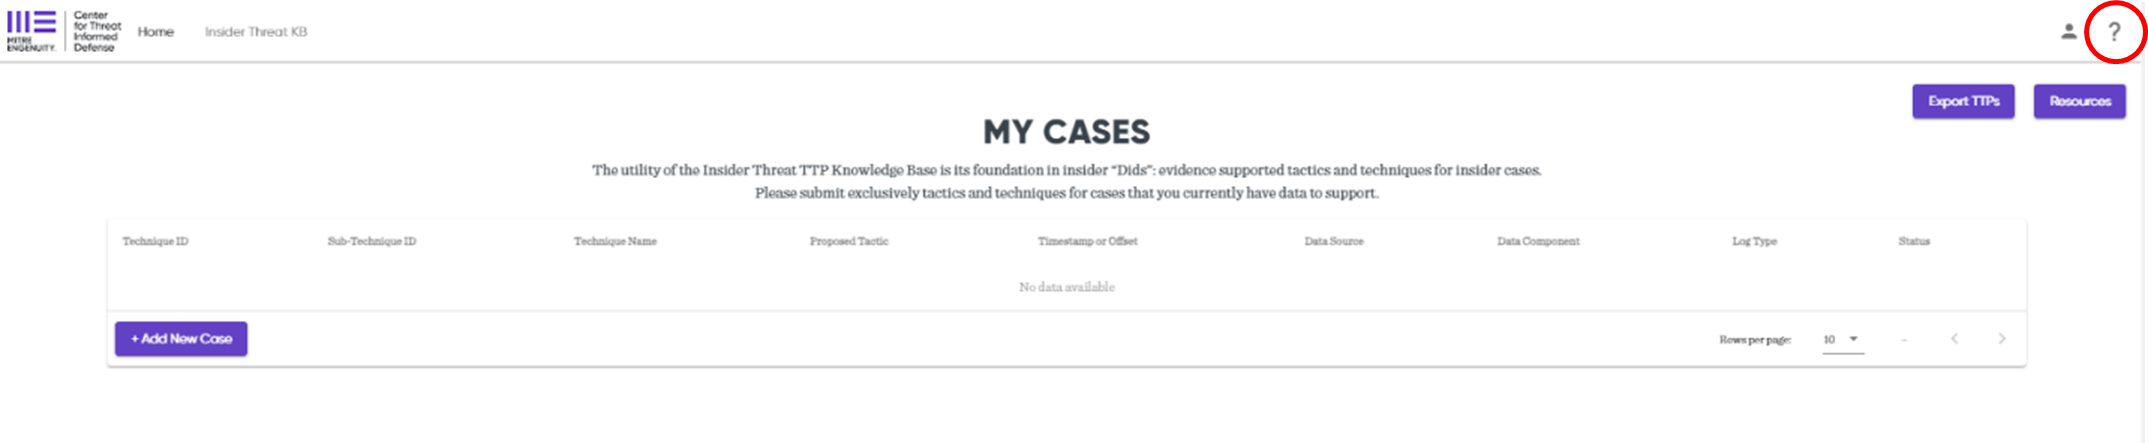
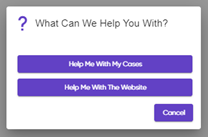
To get assistance with either submitting cases or portal administration, select the question mark button on the top right of the screen.
Password Changes
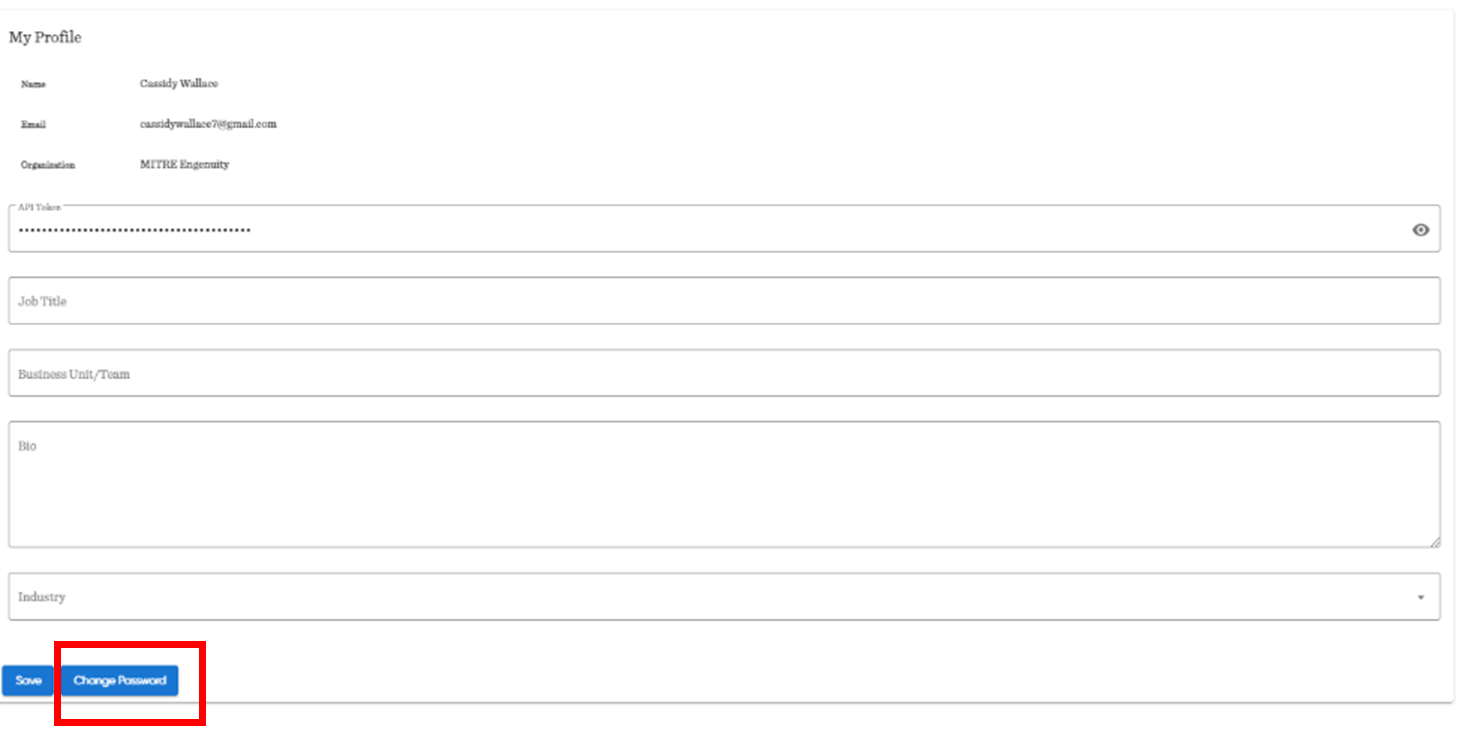
To change a password if the current password is known, select the profile button on the top right of the screen. This will bring you to your profile.
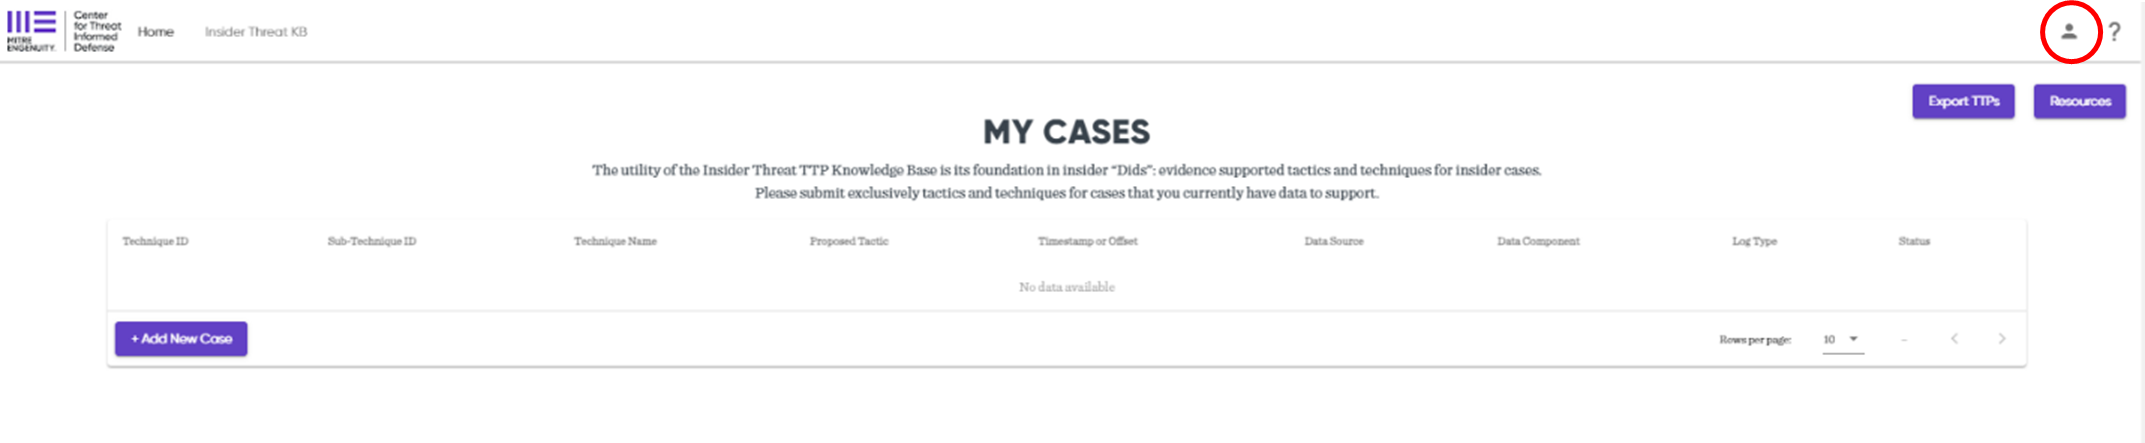
Click on Change Password to change the account password.